Are you tired of dealing with wigs that slip and slide, causing you constant worry and discomfort? Have you ever wondered how to sew a wig to your head securely for a flawless, natural look? If so, you’re not alone. Many wig wearers face the same challenges when it comes to keeping their hairpieces in place. This guide will walk you through the process of sewing a wig to your head, from prepping your hair to achieving a flawless, secure fit.
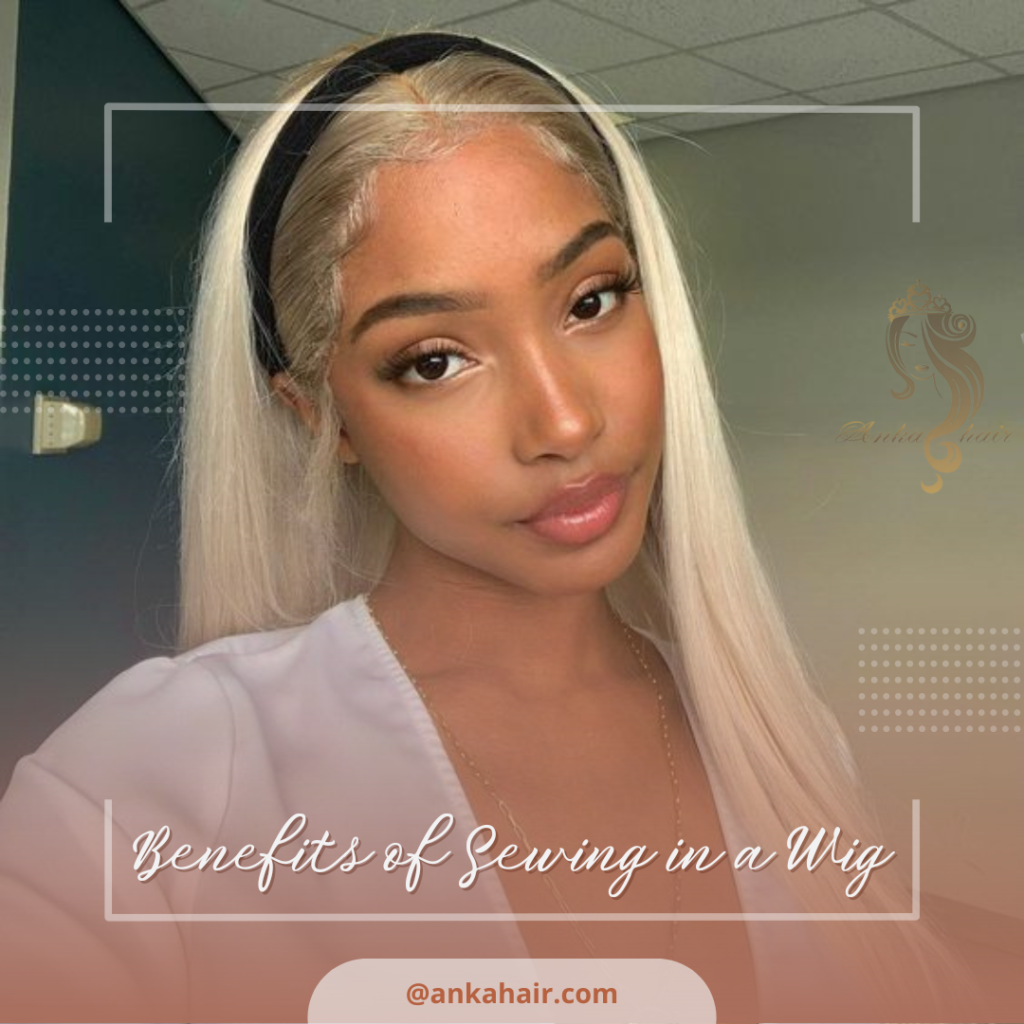
I. Benefits of Sewing in a Wig
1. Increased Security & Stability
One of the primary benefits of sewing a wig to your head is the increased security and stability it offers. Unlike adhesive methods that may come loose throughout the day, sewing ensures your wig stays firmly in place, no matter what activities you engage in.
2. Longer Wig Lifespan
By sewing your wig to your head, you can also extend its lifespan. Adhesive methods can cause wear and tear on the wig cap over time, leading to premature damage. Sewing distributes the weight of the wig more evenly, reducing strain on the cap and helping it last longer.
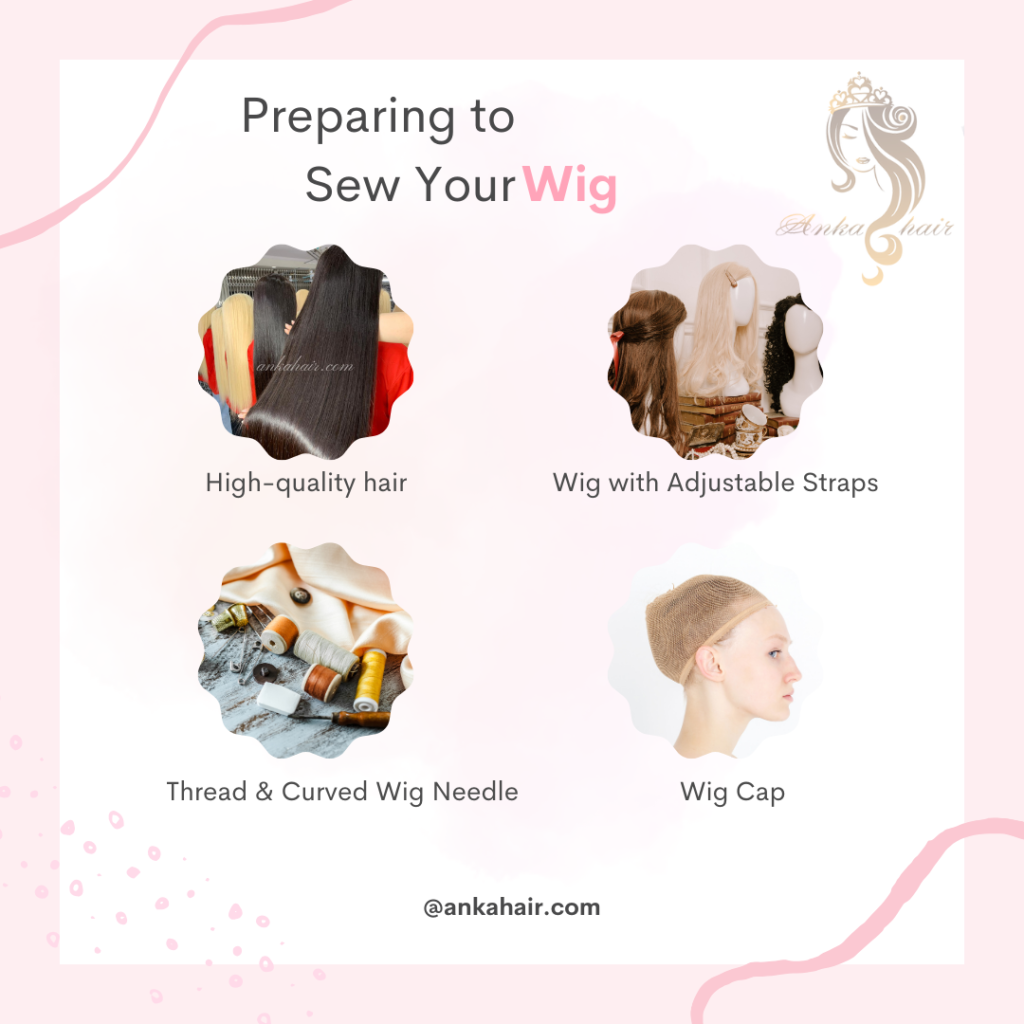
II. Preparing to Sew Your Wig
Before sewing a wig to your head, gather the necessary tools and prepare your head for wig installation:
- High-quality hair: Depending on your need and your budget, you can choose synthetic hair, hair blend or human hair, but try to find good hair from trustable vendor. If you’re interested in Vietnamese human hair for your wig, you can visit Anka Hair Factory to find the best hair to sew your wig.
- Wig with Adjustable Straps (Recommended): Adjustable straps offer a base level of security and allow for fine-tuning the fit before sewing.
- Thread & Curved Wig Needle: Choose a thread color that blends well with your wig and a curved needle specifically designed for wig installation. These needles have a blunt tip to prevent pricking your scalp and a curved body for easier maneuvering under the wig.
- Wig Cap (Optional): A wig cap can provide an additional layer of security and help flatten down your natural hair for a smoother wig application.
1. Braiding Your Hair for Wig Installation
For optimal security and comfort when sewing in your wig, it’s crucial to braid your hair into a protective style. Here’s what you need to know:
- Cornrows or Flat Braids: Opt for styles that lay flat against your head, such as cornrows or flat braids. These styles provide a smooth base for the wig and prevent bulkiness.
- Secure Braids with Thread or Elastic: Once braided, secure the ends of your braids with thread or elastic bands to prevent them from unraveling and ensure a clean foundation.
2. Positioning the Wig on Your Head
- Aligning Wig with Your Natural Hairline: Carefully place the wig on your head, aligning the front of the wig with your natural hairline. Use a mirror to ensure proper placement.
- Fitting the Wig Cap (if using): If using a wig cap, pull it on over your braided hair. The cap should fit snugly but comfortably.
3. Sewing Techniques for Wig Installation
There are various techniques for sewing a wig to your head, but the blanket stitch is a popular and effective choice:
- Blanket Stitch for Secure Attachment: The blanket stitch creates a secure loop that attaches the wig to your braids or wig cap. You can find video tutorials online that demonstrate this stitch in detail.
- Sewing Along Braid Lines or Wig Cap: Start sewing along the braid lines or the edge of the wig cap, depending on your chosen method. Focus on small, even stitches, ensuring the needle goes through both the wig material and your braids or wig cap.
4. Finishing Touches and Wig Care
Once you’ve finished sewing the entire perimeter of the wig, it’s time for the finishing touches:
- Concealing Sewing with Wig Hair: Depending on the wig style, you might be able to camouflage the sewing line by gently pulling strands of hair from the wig to cover the stitches.
- Wig Maintenance & Cleaning Tips: Refer to the care instructions for your specific wig material. Generally, wigs require gentle washing and conditioning to maintain their luster and prevent tangles.
III. Troubleshooting Common Wig Sewing Issues
- Wig Feeling Loose or Unstable: If your wig feels loose after sewing, check your stitch tension. Ensure the stitches are snug but not so tight that they cause discomfort. You can also add additional rows of stitching for enhanced security.
- Difficulty Sewing Through Wig Material: Some wigs may have thicker or denser caps, making it challenging to sew through. Use a sturdy curved needle and apply gentle pressure to penetrate the material without causing damage.
Sewing a wig to your head may seem daunting at first, but with the right tools, techniques, and troubleshooting tips, you can achieve a secure, natural-looking fit that lasts all day. By following the steps outlined in this guide and experimenting with different methods, you’ll soon be on your way to wig-wearing confidence!